<i>Cables</i>  <i>and</i> <i>Connectors</i>
  • © 2023 Neil Austin Contact Me 0

Cables and Connectors

Common Types ...

Stacks Image 22
BNC Connectors 50 or 75ohm?

It is true that BNC connectors can look very similar to each other, regardless of their impedance rating. However, there are a few ways to tell whether a BNC connector is 75 ohms or 50 ohms:

Look for markings: Some BNC connectors are marked with their impedance rating, such as "50 ohm" or "75 ohm." This is typically found on the connector body or the label of the package.

Check the center pin: The center pin of a 75-ohm BNC connector is typically smaller in diameter than that of a 50-ohm connector. The center pin of a 50-ohm BNC connector is usually about 0.63 mm in diameter, while the center pin of a 75-ohm connector is about 0.51 mm in diameter.

Measure the connector's impedance: You can use a specialized impedance meter to measure the impedance of a BNC connector. This requires some knowledge of how to use an impedance meter, and the tool may not be readily available to everyone.

It's important to note that using the wrong impedance connector can cause signal reflections and lead to signal degradation. Therefore, it's best to confirm the impedance rating of a BNC connector before using it in your application.

Stacks Image 29
PL-259 connectors 50 or 75ohm?

PL-259 connectors are specifically designed for 50 ohm impedance applications, and are not available in other impedance ratings.

PL-259 connectors are commonly used in applications such as amateur radio, CB radio, and other high-frequency applications that require a 50-ohm impedance match. The PL-259 connector is a threaded connector that attaches to a coaxial cable with a soldered center pin, and is mated with a SO-239 jack or receptacle.

If you need a different impedance rating for your application, you will need to select a different type of connector that is specifically designed for that impedance. For example, if you need a 75-ohm connector, you may consider using an F-type connector or a BNC connector that is designed for 75-ohm impedance applications.

Stacks Image 34
N-Type Connectors 50 or 75 ohm

N-type connectors are available in both 50-ohm and 75-ohm impedance versions.

The most common type of N-type connector is the 50-ohm version, which is used in a wide range of applications, such as telecommunications, broadcast, and military systems.

However, there is also a 75-ohm version of the N-type connector, which is typically used in video and broadcast applications, such as cable television, digital video interfaces, and CCTV systems.

It's important to ensure that you are using the correct impedance version of the N-type connector for your specific application, to prevent signal reflections and ensure optimal signal transfer.

Stacks Image 37
Attaching the Coax
(N-Type)


1.Strip the outer jacket: Use a wire stripper or a sharp knife to strip about 1 inch (2.5 cm) of the outer jacket from the end of the coaxial cable.

2.Fold back the braided shield: Fold back the braided shield to expose the inner conductor. Be careful not to damage the shield.

3.Strip the inner conductor: Use a wire stripper or a sharp knife to strip about 1/4 inch (6 mm) of the insulation from the end of the inner conductor.

4.Slide the N-type plug onto the cable: Slide the N-type plug onto the cable, with the centre pin aligned with the inner conductor and the threads facing outward.

5.Crimp or solder the connector: Use a crimping tool or a soldering iron to secure the connector to the cable. For crimping, use the appropriate die size for the connector and follow the manufacturer's instructions. For soldering, heat the connector and the cable until the solder flows, then allow the connection to cool.

6.Screw on the connector: Screw the N-type plug onto the corresponding N-type jack or receptacle. Be careful not to over-tighten the connection, as this can damage the connector or the cable.

Link to the picture:-
https://www.digikey.be/htmldatasheets/production/864428/0/0/1/assembly-instr-c15.html
Here's a YouTube Video. Many others on there.

Stacks Image 46
Here are the steps to attach a coaxial cable to a BNC connector:

Strip the outer insulation of the coaxial cable: Use a wire stripper or a sharp knife to carefully strip about 1 inch (2.5 cm) of the outer insulation from the end of the coaxial cable. Be careful not to cut the inner conductor or the shielding.

Expose the inner conductor: After stripping the outer insulation, you will see a thin layer of braided shielding around the inner conductor. Use a pair of wire strippers to carefully remove about 1/4 inch (6 mm) of the shielding to expose the inner conductor.

Trim the inner conductor: Once you have exposed the inner conductor, use wire cutters or scissors to trim the inner conductor so that it extends about 1/8 inch (3 mm) beyond the shielding.

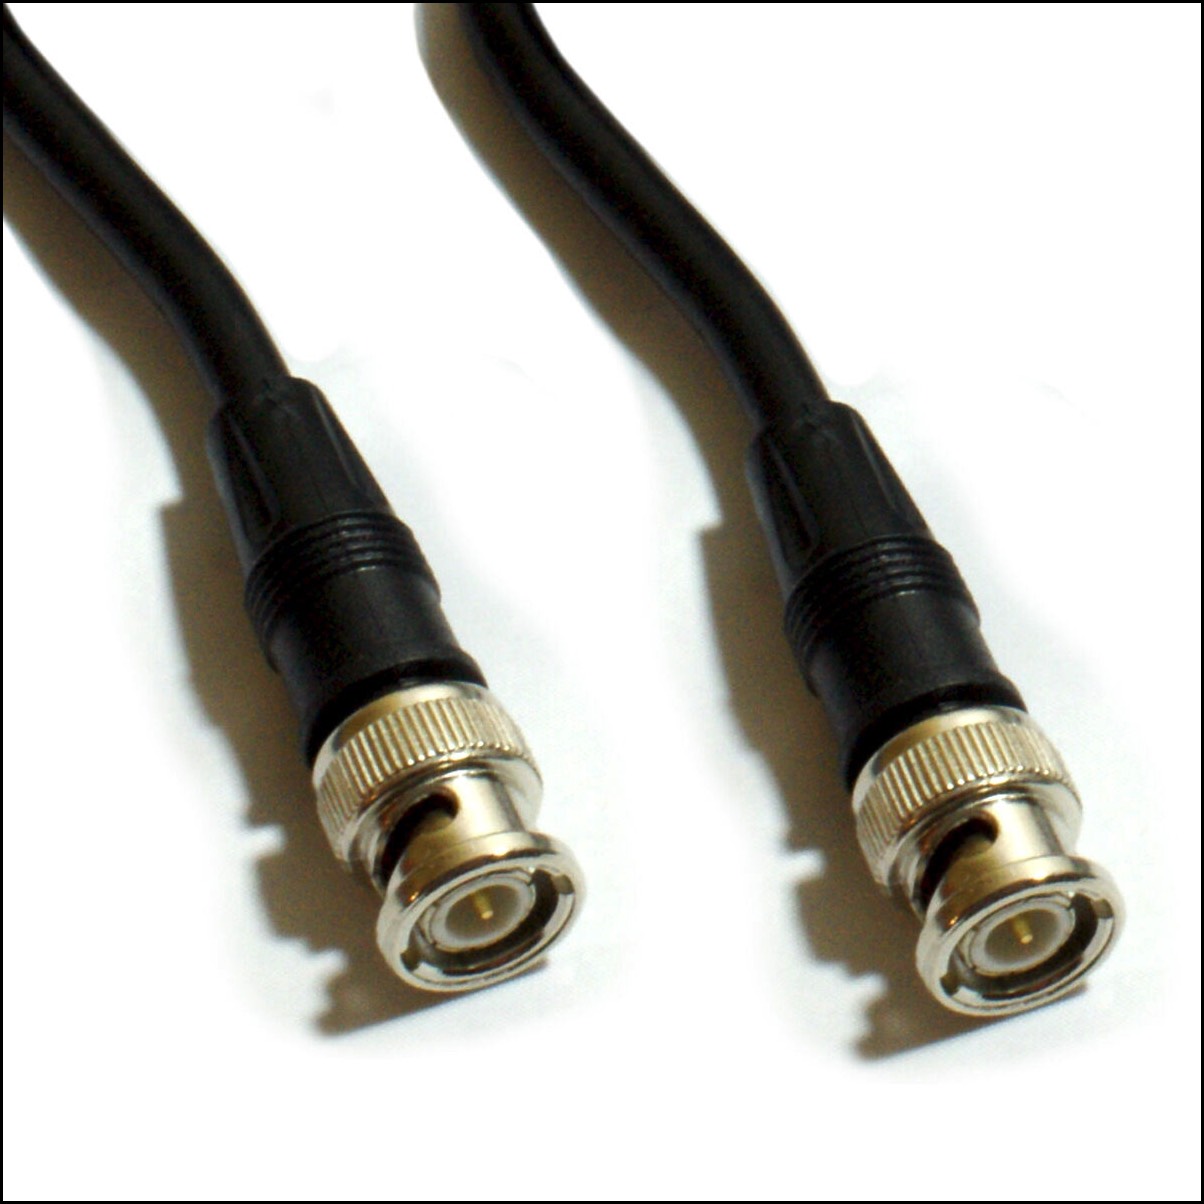
Insert the cable into the BNC connector: Slide the BNC connector over the end of the coaxial cable so that the inner conductor fits into the center pin of the connector and the shielding fits around the outer shell of the connector.

Crimp or solder the BNC connector: Depending on the type of BNC connector you are using, you will either need to crimp the connector onto the cable or solder it in place. Follow the manufacturer's instructions for crimping or soldering the connector.

Test the connection: Once you have attached the BNC connector to the coaxial cable, test the connection to make sure it is secure and the cable is working properly.

That's it! With these steps, you should be able to successfully attach a coaxial cable to a BNC connector.
Here's another video from a Radio Amateur on Youtube.